Create an Azure virtual machine to host your applications in the cloud on Windows and Linux operating systems.
In the search box, enter
Virtual machines
, and select
Virtual machines
in the search results.
Click
Create
Virtual machine
.
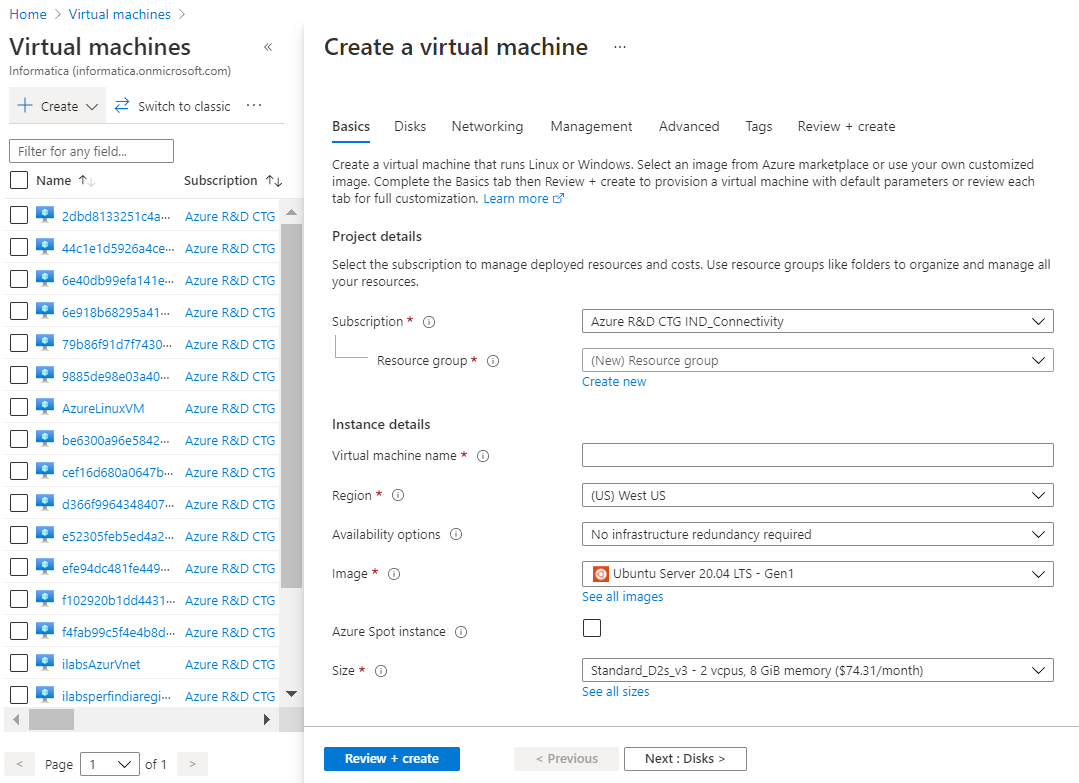
On the
Basics
tab, enter the project, instance, and authentication details.
In the
Subscription
field, select the subscription for which you want to create the virtual machine.
In the
Resource group
field, select the resource group in which the Azure resources are deployed and managed.
In the
Virtual machine name
field, enter a name for the virtual machine.
Once you create the virtual machine, you can't change the virtual machine name.
In the
Region
field, select the region.
Ensure that the subscription, resource group, and region for the virtual machine are the same as that of the virtual network.
In the
Availability
options field, you can choose to replicate the virtual machine in availability zones or availability sets to protect your applications and data from datacenter outages and maintenance events.
In the
Image
field, select the base operating system or application for the virtual machine.
In the
Size
field, select the size of the virtual machine that determines factors such as processing power, memory, and storage capacity.
In the
Authentication type
field, select if the administrator account must use the user name and password or SSH keys for authentication.
If you select the
SSH public key
option, enter the user name and key pair name.
If you select the
Password
option, enter the values in the username, password, and confirm password fields.
In the
Public inbound ports
field, select
None
.
Click
Next : Disks
.
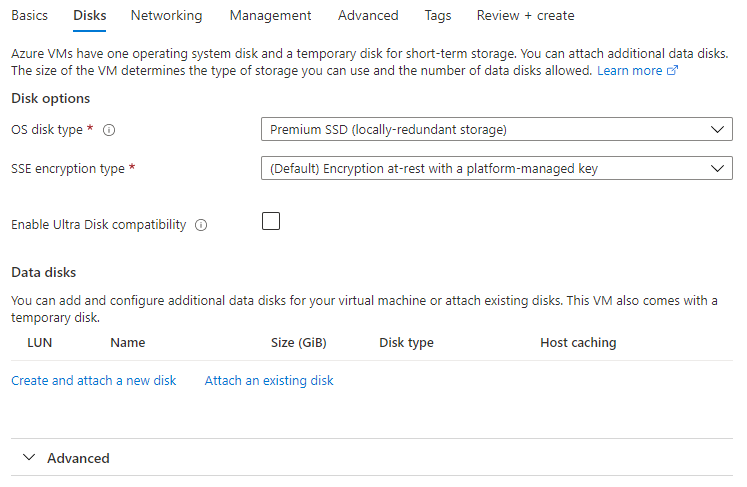
On the
Disks
tab, you can select the disk type for your virtual machine or use the default disk type.
You can also configure additional data disks or attach existing disks.
Click
Next : Networking
.
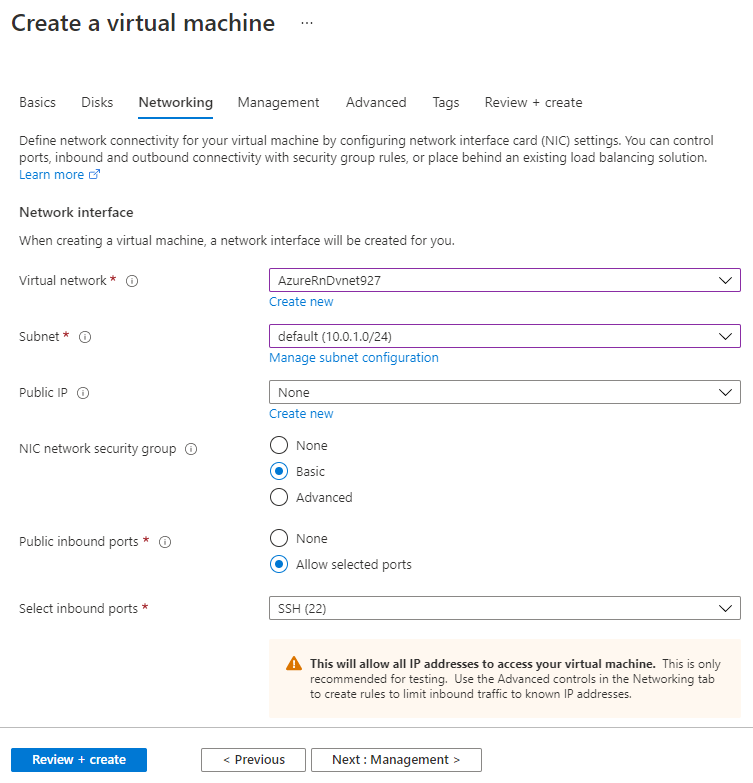
On the
Networking
tab, select the virtual network and the subnet that you created, and then click
Review + create
.
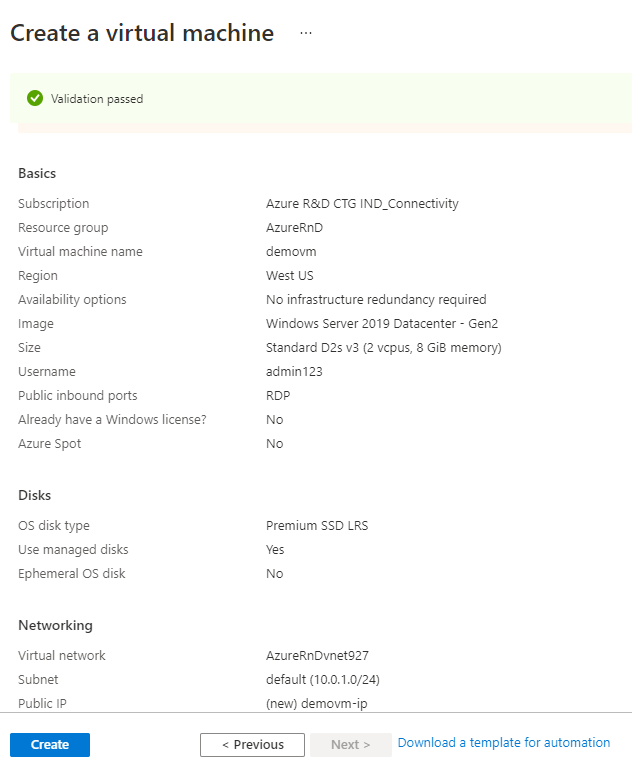
On the
Review + create
tab, verify the configurations for the virtual machine.