Informatica Data Quality
- Informatica Data Quality 10.4.0
- 所有产品

<Informatica installation directory>/server/install.exe
<Informatica installation directory>/server/install.exe


目录
| 说明
|
|---|---|
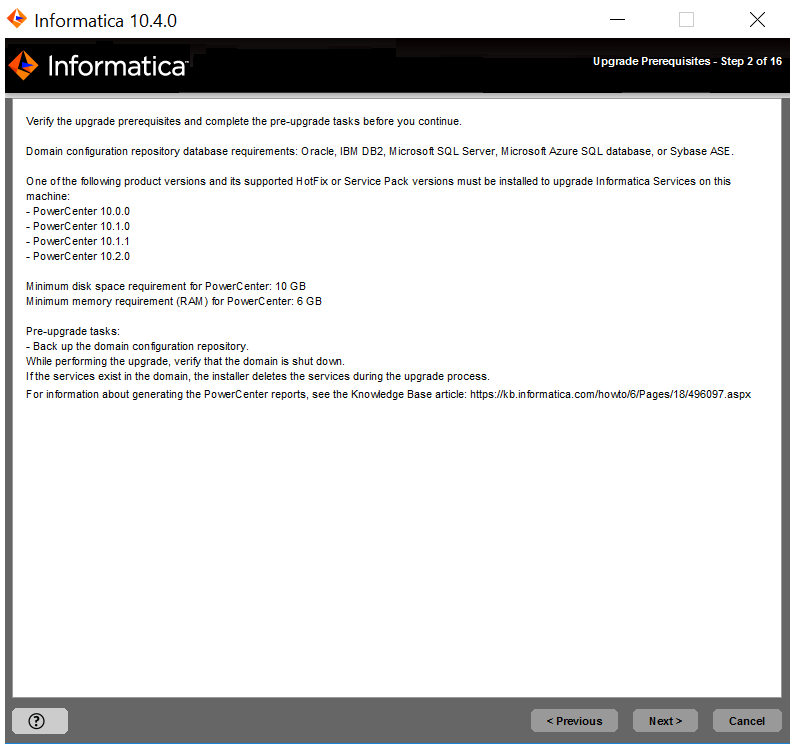
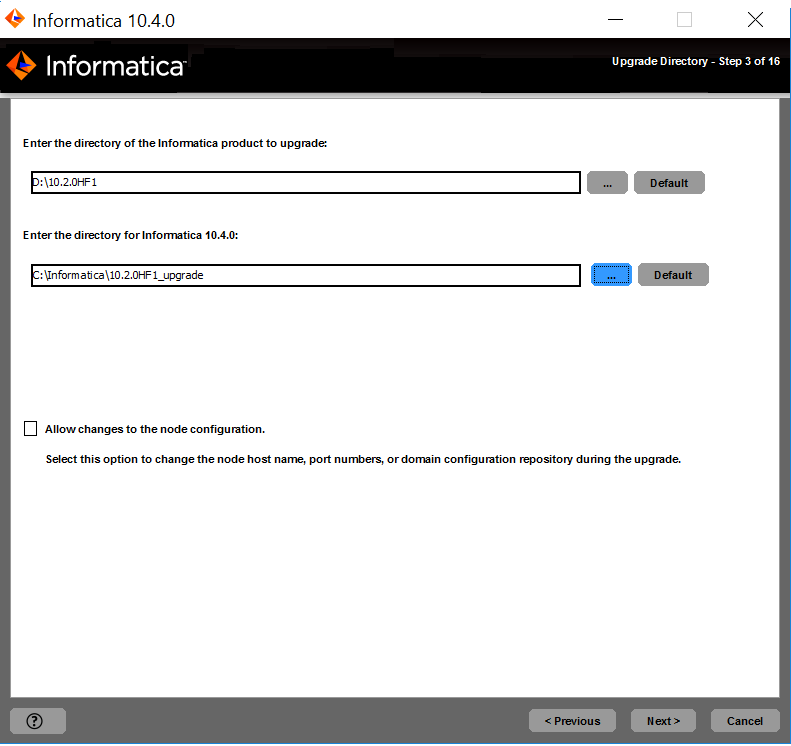
要升级的 Informatica 产品的目录
| 包含您要升级的 Informatica 服务版本的目录。
|
Informatica 10.4.0 的目录
| 要在其中安装 Informatica 10.4.0 的目录。
输入安装目录的绝对路径。该目录不能与包含上一版本 Informatica 服务的目录相同。路径中的目录名称不得包含空格或以下特殊字符: @|* $ # ! % ( ) { } [ ] , ; '
Informatica 建议在安装目录路径中使用字母数字字符。如果您使用特殊字符,例如 á 或 €,则在运行时可能会出现意外结果。
在 Windows 上,安装目录必须位于当前计算机上。
|
Property
| Description
|
|---|---|
Encryption key directory
| Directory in which to store the encryption key for the domain. By default, the encryption key is created in the following directory:
<Informatica installation directory>/isp/config/keys .
|


属性
| 说明
|
|---|---|
数据库类型
| 域配置存储库的数据库。
|
数据库用户 ID
| 域配置存储库的数据库用户帐户。
|
用户密码
| 数据库用户帐户的密码。
|
属性
| 说明
|
|---|---|
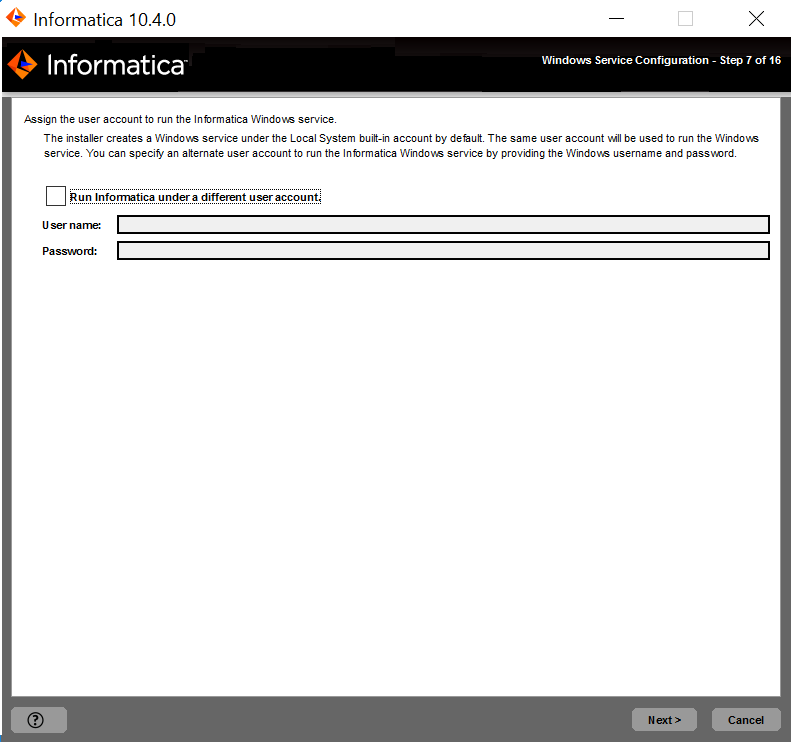
在不同的用户帐户下运行 Informatica
| 指示是否在不同的用户帐户下运行 Windows 服务。
|
用户名
| 通过其运行 Informatica Windows 服务的用户帐户。
使用以下格式:
<域名>\<用户帐户> 此用户帐户必须具有“以操作系统方式操作”权限。
|
密码
| 通过其运行 Informatica Windows 服务的用户帐户的密码。
|
