- Administrator H2L
- All Products


Setting
| Value
|
|---|---|
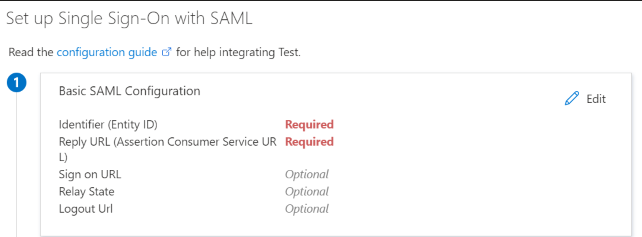
Identifier (Entity ID)
| https://<organization ID>.<hostname>
For example,
https://12a3b4cdef5gh67ijklm8n.dm-us.informaticacloud.com/
|
Reply URL (Assertion Consumer Service URL)
| <IICS base URL>/identity-service/acs/<organization ID>
For example,
https://dm-us.informaticacloud.com/identity-service/acs/12a3b4cdef5gh67ijklm8n
|
Sign on URL
| <IICS base URL>/ma/sso/<organization ID>
For example,
https://dm-us.informaticacloud.com/ma/sso/12a3b4cdef5gh67ijklm8n
|


I see this step has us manually "create your own" enterprise application. The option to select "Informatica Intelligent Data Management Cloud" from the Microsoft Entra Gallery does NOT support SCIM provisioning - and cannot be changed to enable it - is this something that will be supported in the future?
Without provisioning - the "Enable IDP to push..." box is not checked, and user attributes and group to role mappings are pulled from AD on authenticated logon vs pushed with provisioning.
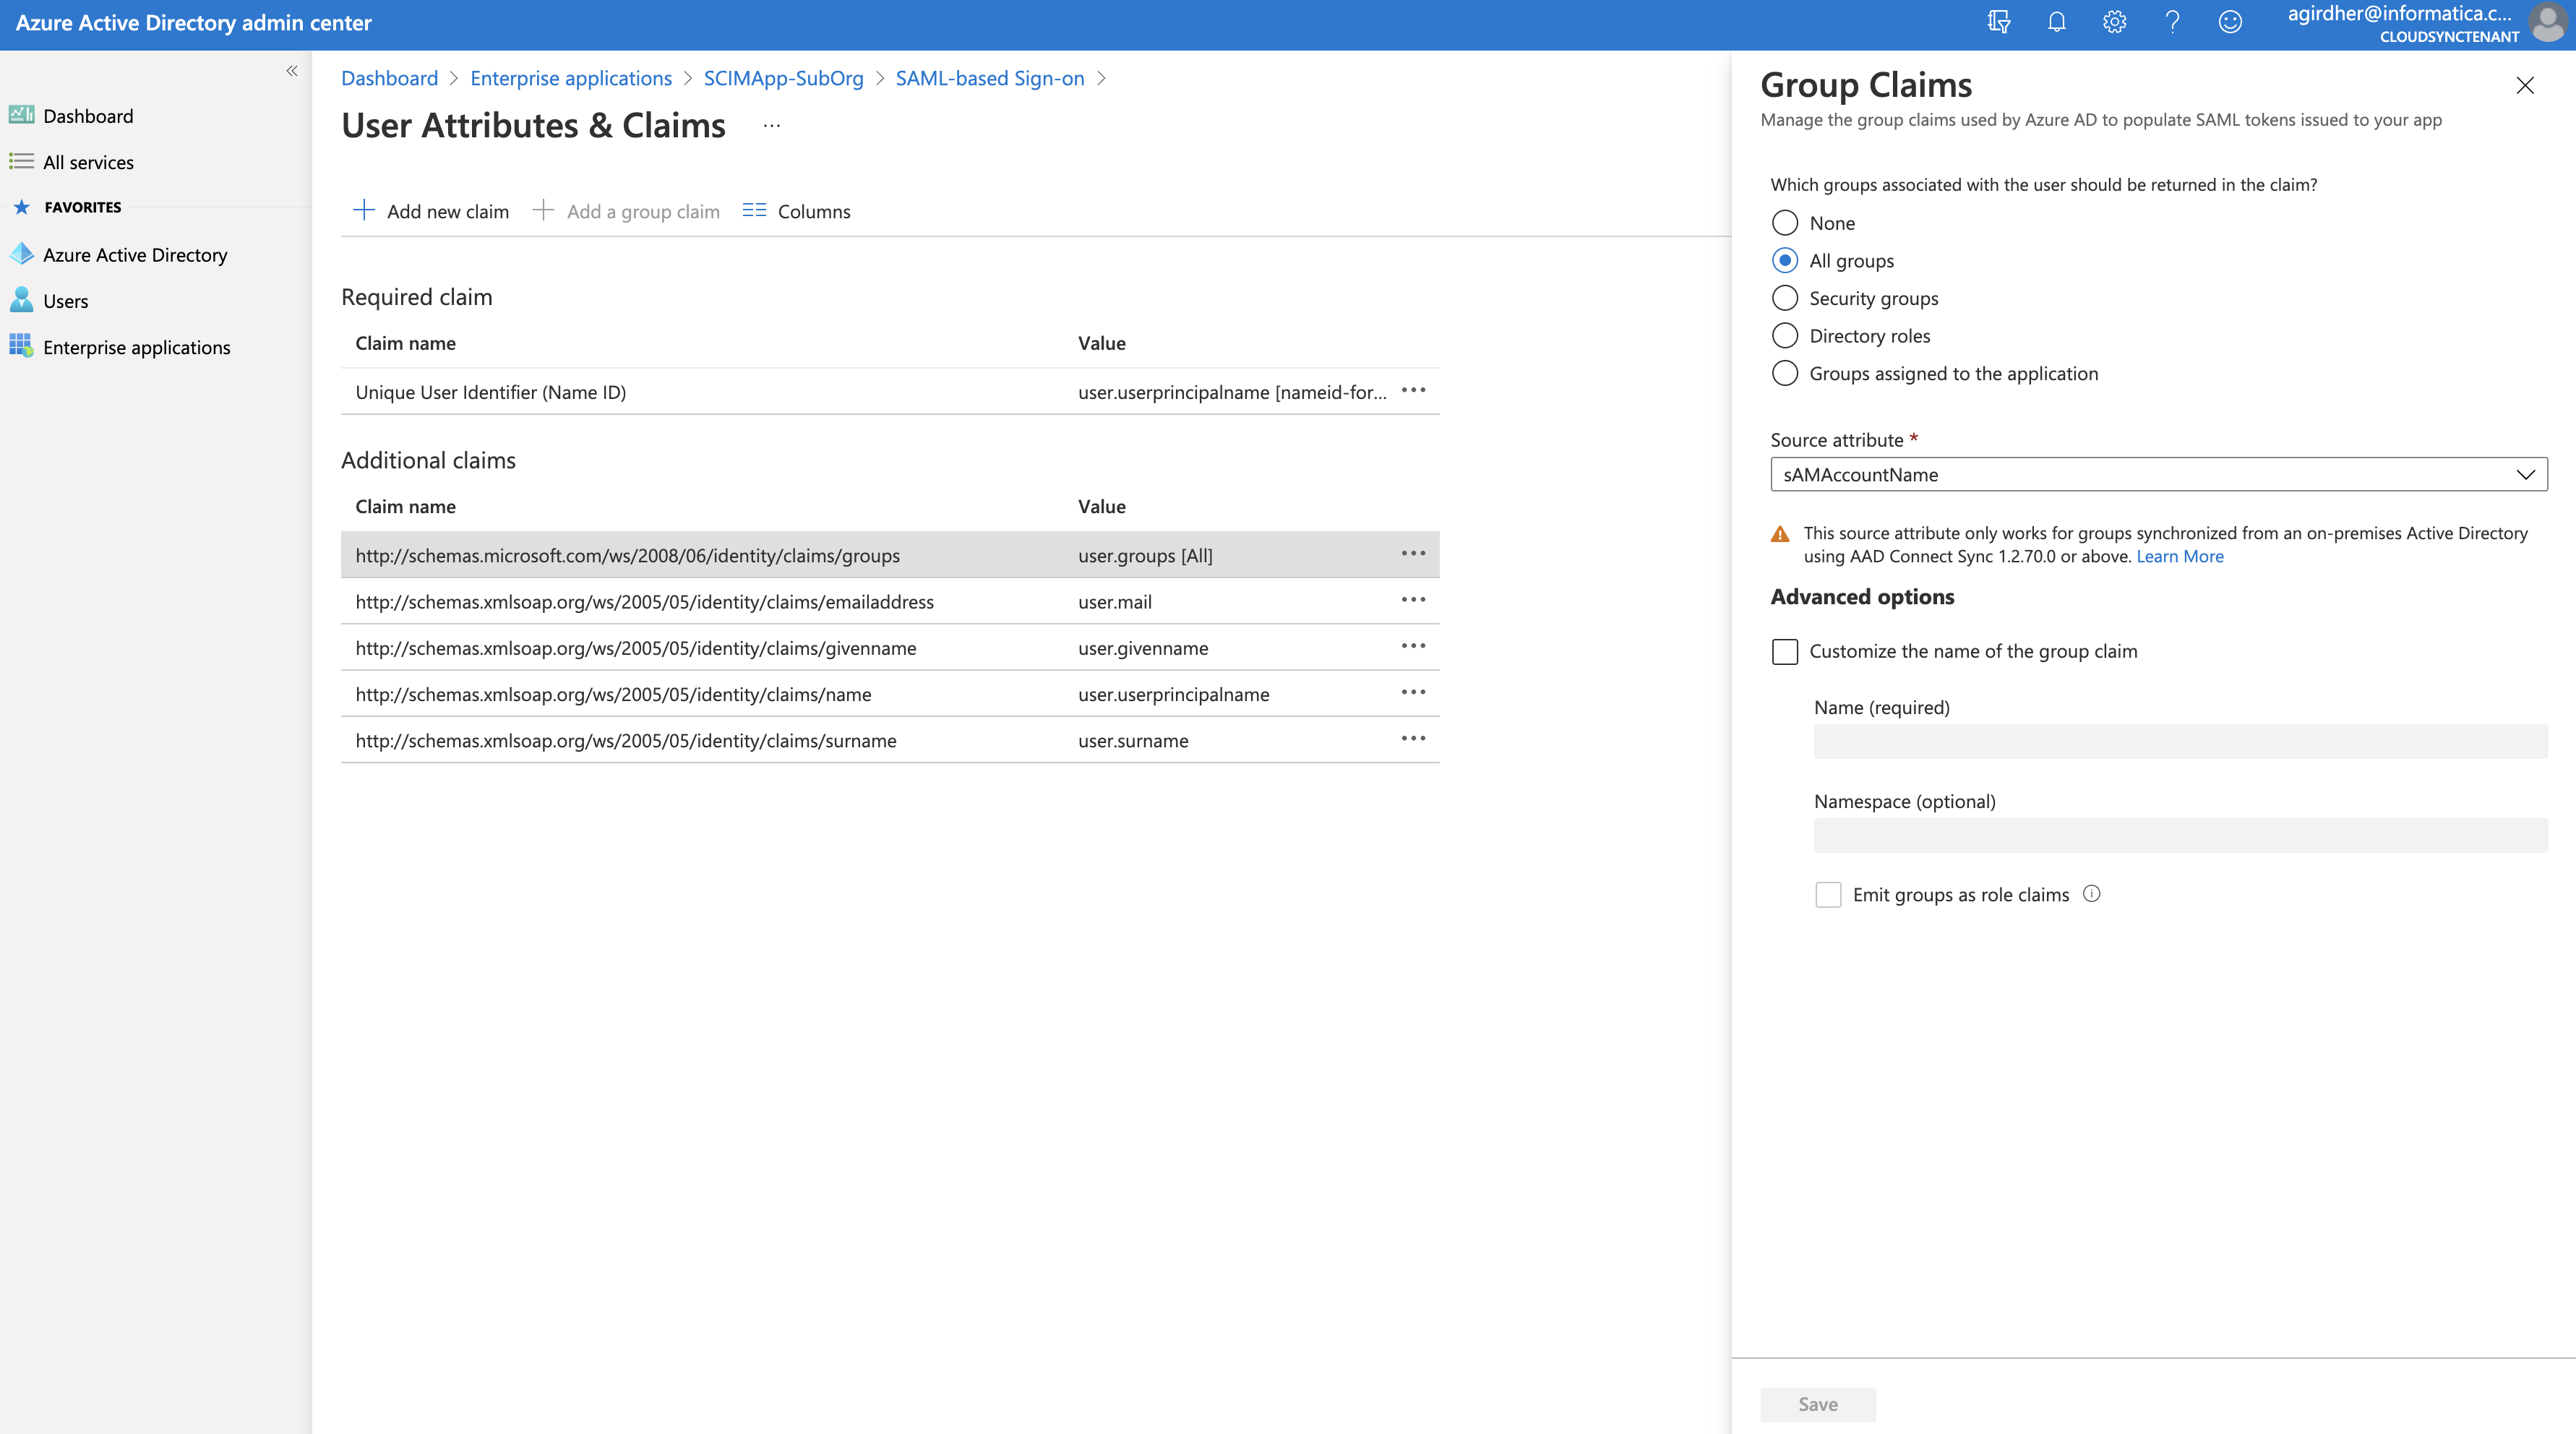
Also, I have observed that when setting up claims for non SCIM provisioning, we needed add job title and phone number and enter the "claim name" vs the more intuitive "value" from step 7 graphic above in the Informatica- Administrator- SAML Setup-SAML Attribute Mapping page. The "user friendly" button didn't seem to work in populating attributes. In addition, the groups claim in step 7 needed an adjustment (per a blog entry I read) to use the last option - "Groups assigned to the application" and change the Source attribute selection to "Cloud-only group display names". This enables the name of the AD group to be entered under the Informatica SAML Setup section - SAML Group Mapping tab as the name of the AD group in each role line and creates the security group as that name vs the Entra ID group ID which is far less intuitive. I hope this information helps someone and clarifies their setup.
Hi David,
Thanks for reaching out! We're not sure whether the option to select "Informatica Intelligent Data Management Cloud" from the Microsoft Entra Gallery does will support SCIM provisioning in the future. Can you please reach out to Informatica Global Customer Support with this enhancement request?
Thank you for sharing your other observations. If you have a specific request to update the content of this article, please let us know.