B2B Data Exchange
- B2B Data Exchange 10.2.2 HotFix 1
- All Products


If you leave the field empty, the Informatica security domain synchronizes only the<security group>@<domain>
<group name>@<security group>[;<groupname>@<security group>]
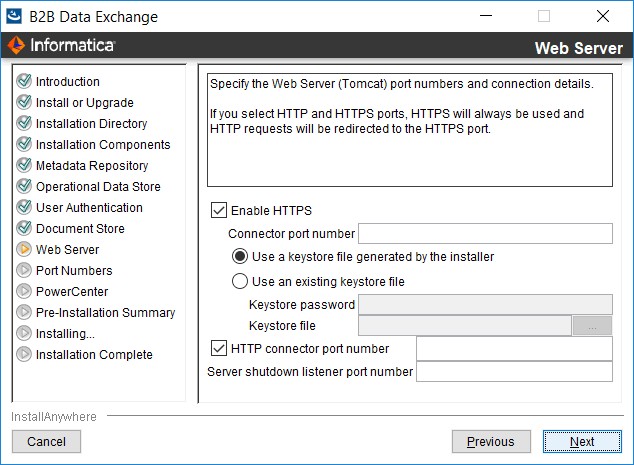
<DXInstallationDir>/shared/conf/security/krb5.conf
<DXInstallationDir>/shared/conf/security/HTTP_console.keytab
file://<full_path>
If you leave the field empty, the Informatica security domain synchronizes only the<security group>@<domain>
<group name>@<security group>[;<groupname>@<security group>]


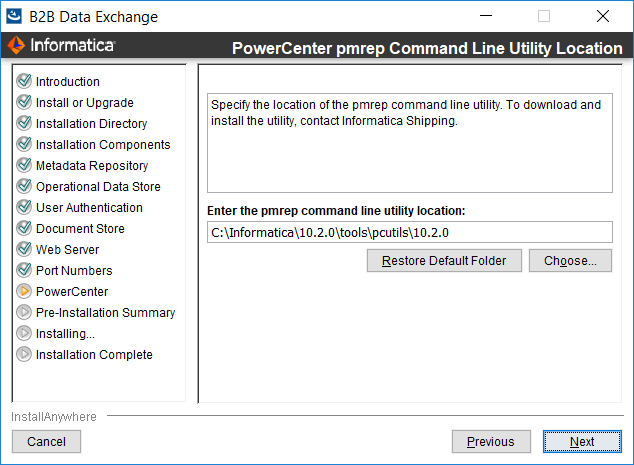
Environment | Location of the pmrep command line utility |
|---|---|
B2B Data Exchange installed on the machine where the PowerCenter services are installed |
|
B2B Data Exchange and PowerCenter services installed on different machines |
|
