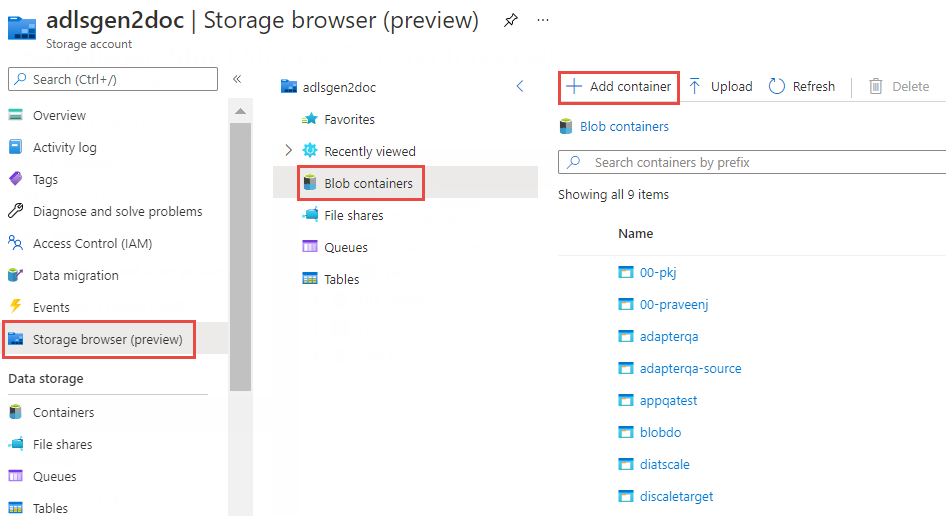
Perform the following steps to create a Blob container in Microsoft Azure Data Lake Storage Gen2:
Log in to the Azure portal.
Open the storage account that you created.
Click
Storage browsers
Blob containers
.
Click
Add container
.
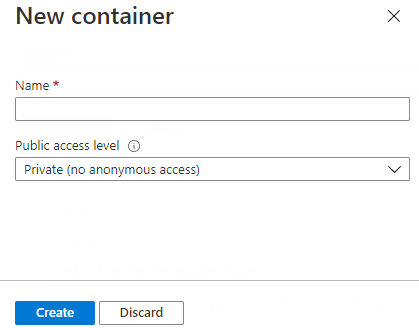
Enter a name for the new container.
You can only use lowercase letters, numbers, and hyphens when you enter the names of the folder and the file system. The names must begin and end with a letter or number. Do not add consecutive hyphens when you enter the names of the folder and the file system.
Select the
Public access level
as
Private
.
Click
Create
.
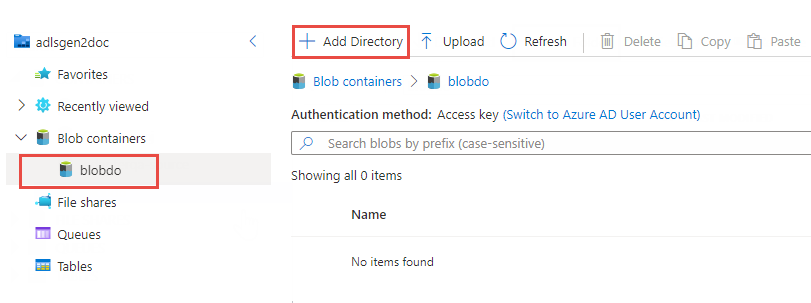
Click the container that you created.
Click
Add Directory
to create a new Microsoft Azure Data Lake Storage Gen2 folder within the container that you created.
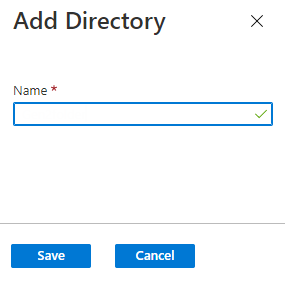
Enter a name for the Microsoft Azure Data Lake Storage Gen2 folder and then click
Save
.
To get the Microsoft Azure Data Lake Storage Gen2 folder path, select the Microsoft Azure Data Lake Storage Gen2 folder. Then, right-click on the folder and select
Properties
option to copy the folder path.
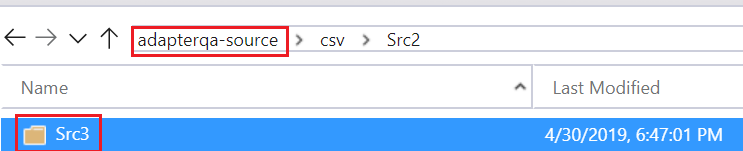
For example, create a
Src3
Microsoft Azure Data Lake Storage Gen2 folder within the
adapterqa-source
file system name. When you select the folder, the folder path is displayed as
/csv/src2/src3
. Right-click on the folder and select
Properties
option to copy the folder path.
The following image shows the path of the
Src3
Microsoft Azure Data Lake Storage Gen2 folder within the file system:
 ASK INFAPreview