Administrator
- Administrator H2L
- All Products
 ASK INFAPreview

Property
| Value
|
|---|---|
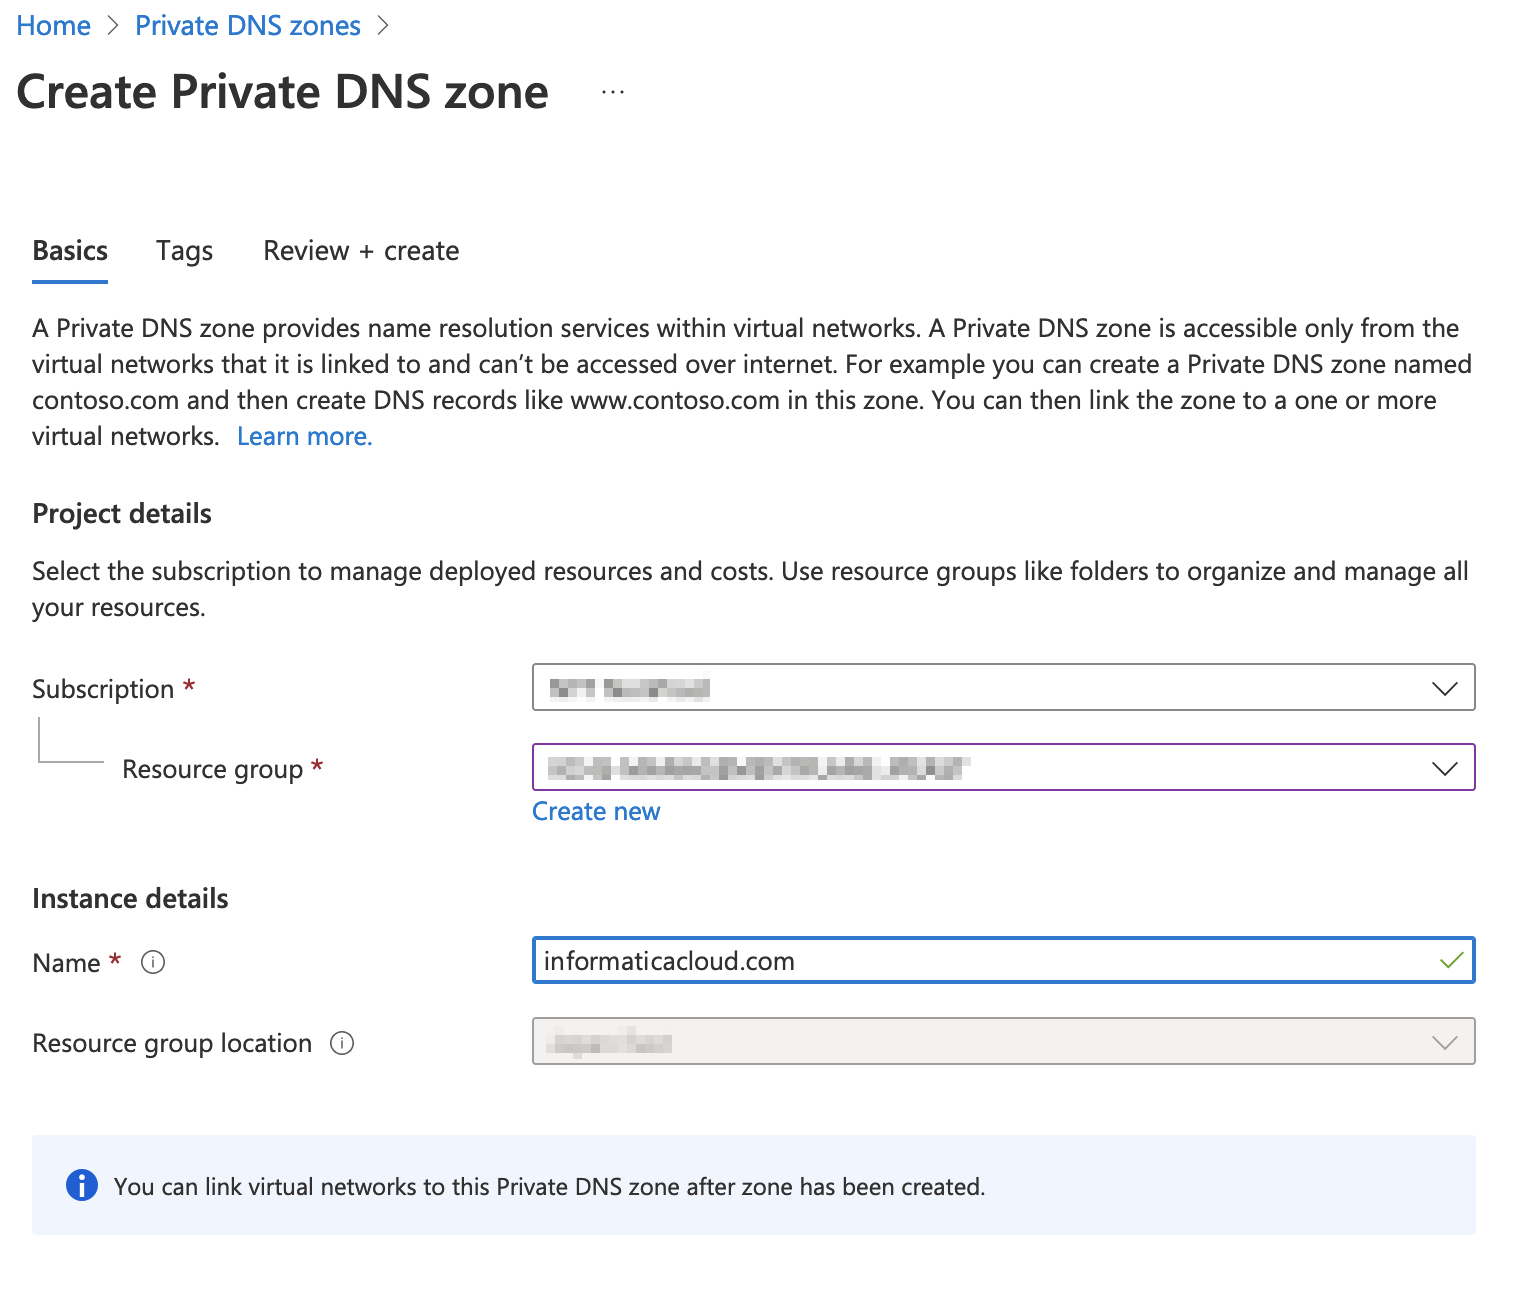
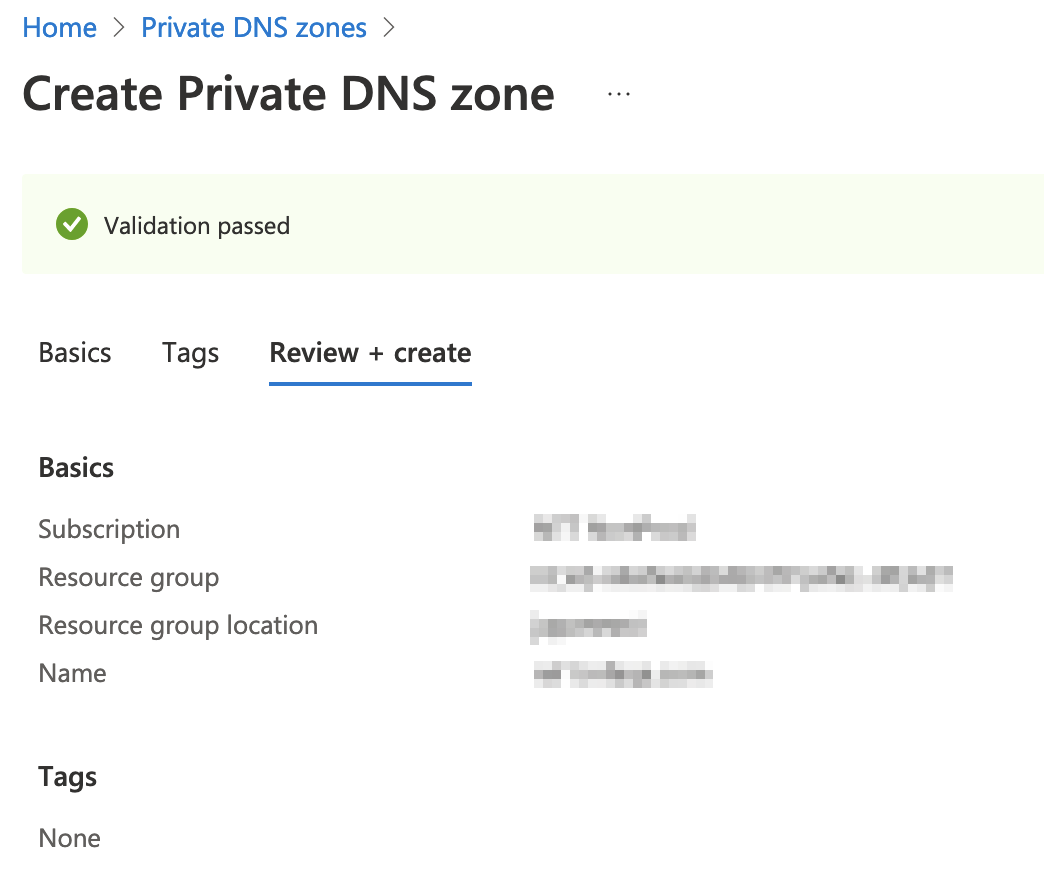
Subscription
| Select your subscription.
|
Resource group
| Select the resource group.
This is the same resource group that you selected when you created the VNet.
|
Name
| Enter
informaticacloud.com .
|
Property
| Value
|
|---|---|
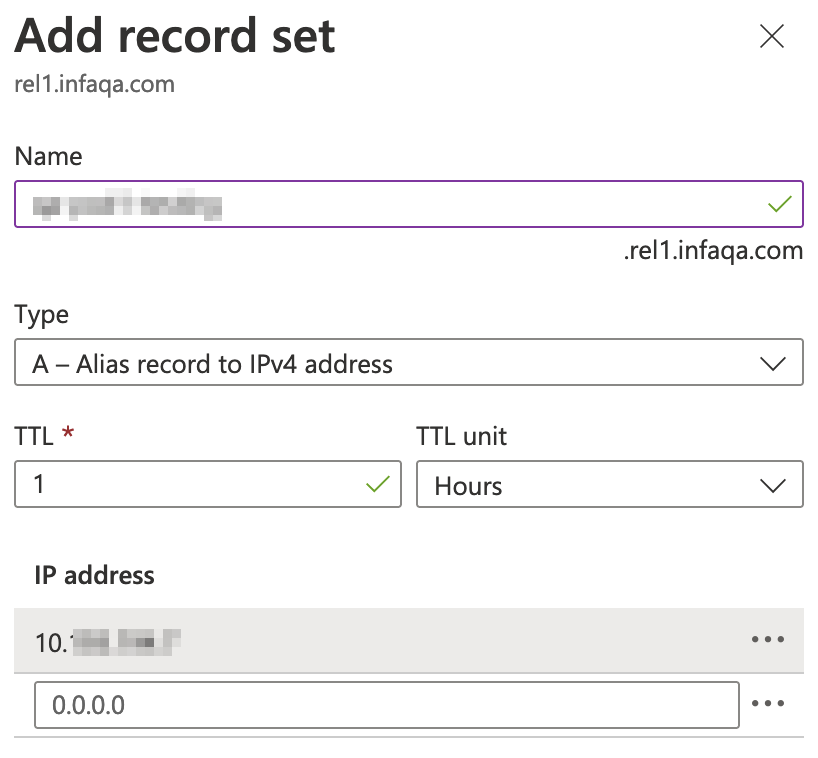
Name
| Enter the DNS name that you use to access the service over the public internet.
For information on how to obtain the DNS name for each service, see
Appendix A: DNS names for Informatica Intelligent Cloud Services services. You can record the DNS names you need in
Appendix B: Worksheet for setting up Azure Private Link.
|
Type
| Select
A - Alias record to IPv4 address .
|
TTL
| Enter a time-to-live (TTL) of the DNS request or accept the default value.
|
TTL unit
| Select a time unit for the TTL or accept the default value.
|
IP address
| Enter the IP address of the private endpoint.
This is the IP address you copied at the end of
Step 3. Create a private endpoint.
|
Property
| Value
|
|---|---|
Link name
| Enter a name for the link.
|
Subscription
| Select your subscription.
|
Virtual network
| Select the VNet you created.
|
