How to Create a REST Web Service From a Data Object
How to Create a REST Web Service From a Data Object
You can create a REST web service from a data object in the Model repository. The Developer tool creates a default mapping that contains a Read transformation and an Output transformation. You can select the data object columns to include in the REST web service resource.
Click
File
New
>
Data Service
.
On the
Select a Wizard
dialog box, choose
REST Web Service
. Click
Next
.
On the
REST Web Service
dialog box, enter a name for the web service. Default name is REST_Web_Service. Click
Next
.
On the REST Resource dialog box, click
New
Create from data object
.
Select a data object from the list of data objects in the Model repository and click
OK
.
The REST Resource dialog box shows the REST resource from the data object you chose.
Select which columns to include in the resource. Select the primary key for the resource.
By default, all columns are selected. You can uncheck the columns that you do not want to include in the resource. By default the GET method is selected. Do not clear this option.
The following image shows the REST resource dialog box:
Click
Finish
to create the web service.
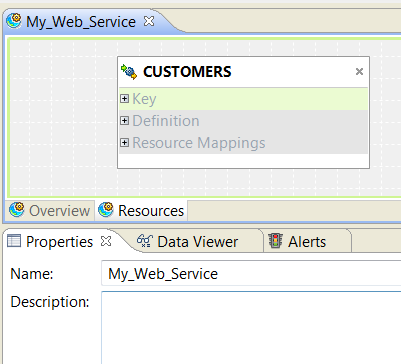
The REST web service
Resources
view appears in the Developer tool.
The following image shows the
Resources
view in the Developer tool:
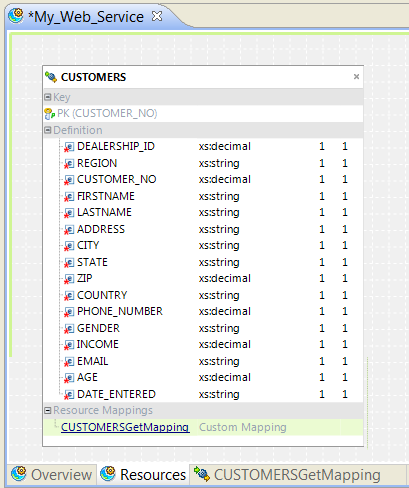
You can expand the components in the
Resources
view to view the key, the columns in the definition, and a link to the resource mapping.
The following image shows the resource key, the definition columns, and the link to the resource mappings:
Click the resource mapping link to view the resource mapping.
The following image shows the default resource mapping:
Add transformations to the mapping if necessary.
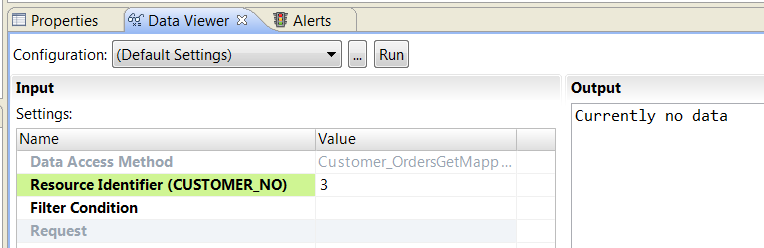
To test the web service, navigate to the
Data Viewer
view.
In the
Input Settings
, choose the resource mapping to test in the
Data Access Value
field.
To filter the output by key, enter a key to search for in the
Resource Identifier
field.
To filter the output by other elements, enter a filter condition. Click the value field to open the Expression editor.
You can enter multiple expressions in the Expression editor.
The following image shows the
Input Settings
in the
Data Viewer
view:
Click
Run
to view the output.
The output is JSON or XML based on the web service configuration.
Deploy the web service to a Data Integration Service.