Tutorial: Calculator

Tutorial: Calculator

Create a JDBC Connection

Create a JDBC Connection

Enter connection properties to create a JDBC connection.
Prerequisite:
To create a JDBC connection, you must have a working Secure Agent and write access to a JDBC database.
Use the following code to create a schema in your JDBC database:
CREATE TABLE `calculatorArchive` ( `sum` int(11) DEFAULT NULL, `difference` int(11) DEFAULT NULL, `product` int(11) DEFAULT NULL, `quotient` int(11) DEFAULT NULL ) ENGINE=InnoDB DEFAULT CHARSET=latin1
Keep the following JDBC properties handy:
  • Connection URL
  • User name
  • Password
  • JDBC JAR Directory
    on the machine where you installed the Secure Agent. For example:
    C:\JDBC
    is a valid
    JDBC JAR Directory
    because the Secure Agent is on the same machine at
    C:\Program Files\InformaticaCloudSecureAgent
You do not need to create a JDBC service connector because a generic JDBC connector is built in the
Application Integration
service.
  1. In
    Application Integration
    , click
    New
    .
  2. In the
    New Asset
    dialog box, select
    App Connections
    App Connection
    , and then click
    Create
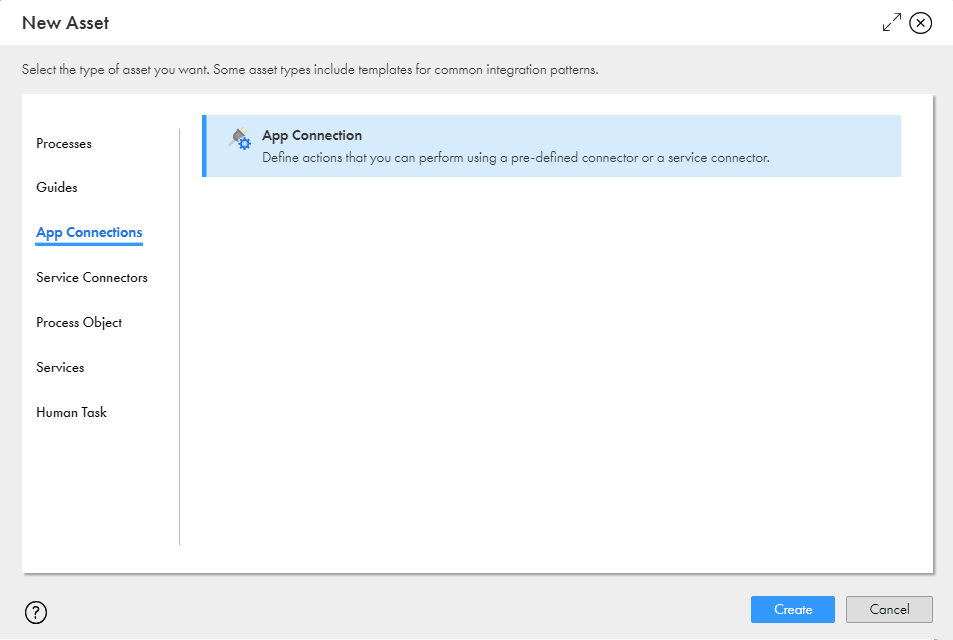
    as shown in the following image:
    This image shows the New Asset dialog box with Connection highlighted and a Create option.
    Process Designer opens with a connection template.
  3. Enter the following information on the
    Properties
    tab:
    1. In the
      Name
      field, enter
      JDBCConn
      .
    2. Next to the
      Location
      field, click
      Browse
      , and then browse to and select the
      Tutorials
      Calculator
      folder.
    3. In the
      Description
      field, enter the following text:
      JDBC connection to archive Calculator process results.
    4. From the
      Type
      list, select
      JDBC Generic Cloud Adaptor
      .
    5. From the
      Run On
      list, select your Secure Agent.
    6. Configure the
      JDBC Connection URL
      ,
      JDBC Jar Directory
      ,
      Username
      , and
      Password
      fields:
  4. Click
    Test
    .
    The connection tests successfully.
  5. Click
    Save
    .
  6. Click
    Actions
    Publish
    .
The following image shows the
Properties
page.
This image shows the properties tab of the JDBC connection. Basic properties are entered and the connection is published.
For more information about JDBC connections, see
JDBC Connector Guide
.

0 COMMENTS

We’d like to hear from you!