Data Archive
- Data Archive 6.4.3 HotFix 1
- All Products


List of Value Detail Tab | Function |
|---|---|
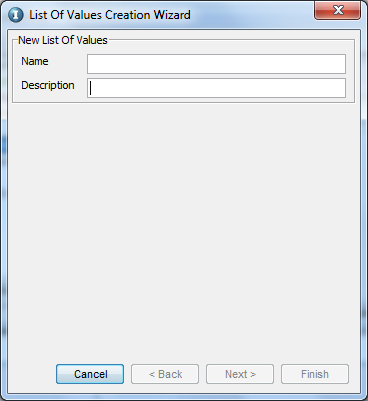
General Information | Basic information about the List of Value including:
|
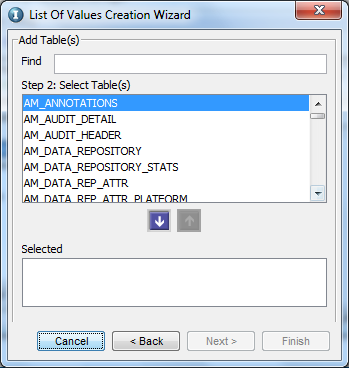
Tables | Selected Tables with the following information:
Tables can be added or deleted using Add and Delete buttons, on the extreme right. |
Where Clause | The WHERE clause for filtering data. |
Display Columns | Columns to select in the SQL query. Each Column is displayed with the following information:
Columns can be added or deleted using Add and Delete buttons, on the extreme right. |
Return Columns | Return value for the SQL query (not displayed in the List of Value). |
Order | Columns for The ORDER BY clause for sorting data. |
Test | The SQL query, built from the information specified above. In case invalid values are supplied and the query fails to comply with SQL syntax, relevant Error messages are displayed in this area. |
