Informatica ActiveVOS
- Informatica ActiveVOS 9.2.5
- All Products


Button
| Description
|
|---|---|
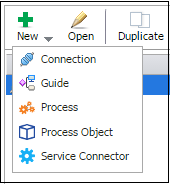
| Opens a list of objects that you can create. When you click an object, it opens in a new tab.
|

| Opens a selected object.
You can also open an object by double-clicking on it.
|

| Creates a copy of the selected object. Process Designer adds a numeric suffix to the object's title; for example, the suffix could be '(1)'.
To rename an object, you must unpublish it, change the name, and then publish it again.
|

| Deletes the selected objects. Click
Delete and then click
Yes to indicate that you are sure that you want to delete the object.
You cannot undo deleting an object. Also, when you delete an object, you unpublish the object.
|

| Writes objects to your computer. Click the Export button, select one or more guides in the list, and then click
Export .
If you select more than one guide, Ctrl+ left click on all but the first. If you select more than one, they will be in a ZIP file.
If you select only one guide, the exported file will be an XML file with an additional two or three letters that describe the object being exported. For example, if you export a connection object, the extension will be
conn.xml.
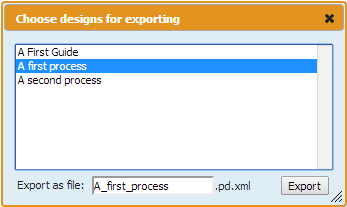
When you click Export, the following dialog box appears:
|

| Imports previously exported objects. When you click the
Import
button, you see the following dialog box:
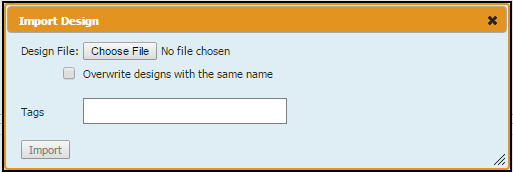
Use the following steps Follow the below steps to import objects:
After you click Import, the following dialog box appears:
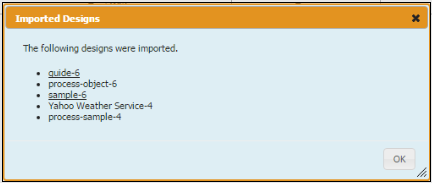
You can click on the objects in this dialog box to see an expanded view of each item in the background.
|

| Click
Publish to make the object ready for use, and visible to other users.
You do not need to publish Process Objects. They are available as soon as you save them.
If you republish an object that is being used by another user, all running instances are migrated to the newly published object. If, however, all running instances are not migrated, the old definition is used
To stop some objects, like guides, from being used with an older definition, click Restart on a running guide to use the new definition.
If you want other users to use only your newly published guide, click Terminate Running Guides at the bottom of the Details area. This stops all instances of that guide.
If you publish a process that uses Salesforce, and the process is invoked by its URL, you must have a published Salesforce connection to invokes a process.
|

| Click
Unpublish to make an object unavailable and no longer visible to users. If the object is being used by others when you unpublish it, it remains available to them until the process stops running.
If you urgently need to stop other users from using a running guide (but not a running process) click
Terminate Running button at the bottom of the Details area.
|

| Use the
Find Design field to search for text that matches what you enter. This text can be part of an object's name or an object's description. After you type three letters, you see a list of objects containing this text. As you type additional letters, irrelevant objects no longer appear.
|

| Settings only apply to guides created within Guide Designer.
Click
Settings to view a dialog box where you can select a theme or upload an image.
Following is a screen shot of the Theme tab:
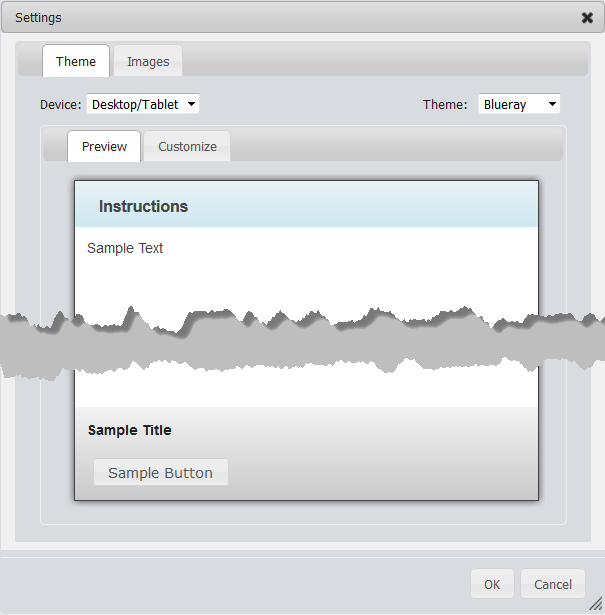
When you select a theme, the way the guide page displays changes. You can edit the way a theme appears by altering the CSS (Cascading Style Sheet) that it uses. For more information, see Customizing Themes.
If you select
Mobile Theme
for a guide, your users will only see the guide when they access it from a mobile phone browser.
Use the
Images tab to upload images that you can place in steps.
The following is a screenshot of the
Images tab
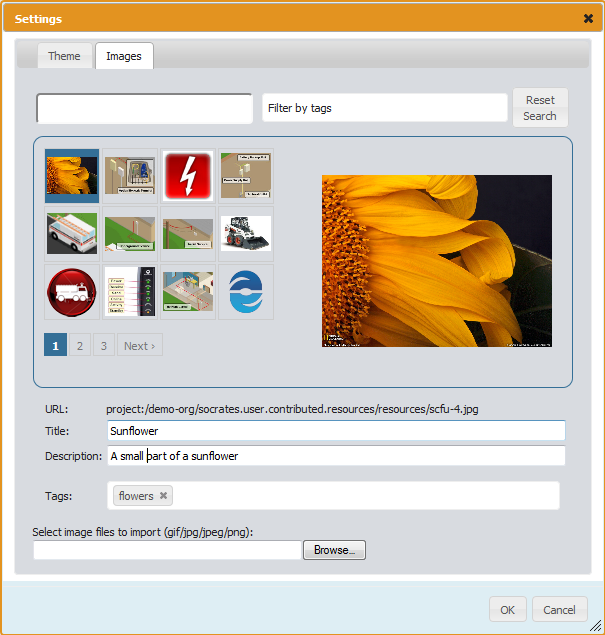
The fields within this dialog box are:
To delete an image, place your cursor over the image, and then click the small red "x" that appears on it.
Some applications may display a
Permissions tab, as shown below:
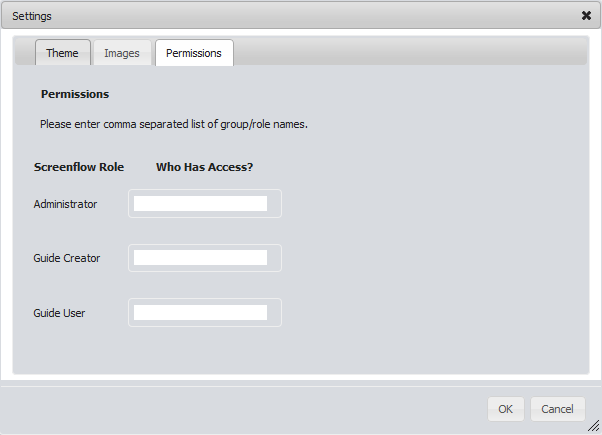
The fields within Permissions dialog box are:
The
Administrator field is mandatory. The Guide Creator and Guide User fields are optional. Also, you cannot enter a user name here.
|

| Select either
List or
Icon from this list to change how information about objects is displayed. Most figures in this area of the page display in the Icon view. The List view, of which a portion is seen here, displays information about objects in a more compact format.
|