Setting Up Seamless Access Between Informatica Data Archive and Oracle E-Business Suite
Setting Up Seamless Access Between Informatica Data Archive and Oracle E-Business Suite
Log in to Informatica Data Archive.
Click
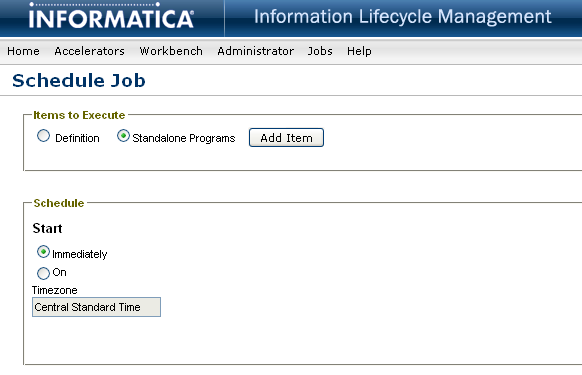
Schedule Jobs
.
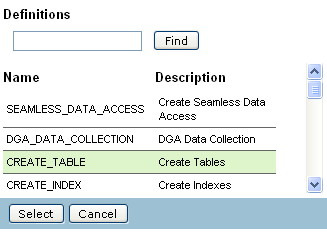
Choose the CREATE_TABLE definition and click
Select
.
Choose the source and destination repository from the drop-down list.
Click
Schedule
to run the job. You can navigate to
Jobs
View Current Jobs
to monitor the progress of the job.
The job creates a table in the history schema of the destination repository for every table processed by any entity defined in the product family version of your source E-Business Suite repository. If you have added custom tables to any of the entities, the job creates the custom tables. If you add custom tables later, run the job again. If you apply an Oracle patch to your E-Business Suite instance and modify any of the tables created by the job, you need to be run the job again.
Wait until the CREATE_TABLE job completes before moving to the next step.
Click
Schedule Jobs
.
There are synonyms to most of the objects in the APPS schema for both the Archive Only and Combined seamless access schemas. For all of the tables created in the previous step there are views. In the archive only schema the view selects from the history table across a database link. In the combined schema the view selects from the history table across a database link and union that with a select from the APPS table. We call these views base level seamless access views. We also create archive only and combined schema views for APPS views that reference these base views, they are called dependent views.
Click
Add Item
.
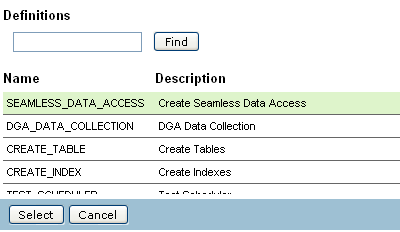
Choose the SEAMLESS_DATA_ACCESS definition and click
Select.
Fill in all the information.
Choose the Source and Destination repository from the drop-down list.
Combined schema name is AMQUERY in this example and in the example script in the appendix. Query schema name is AMARCHIVE in this example and in the example script in the appendix.
Choose the Combined/Query schema location as Source from the drop-down list.
Database Link is a public link or two private links, one owned by the archive only schema and one to the combined schema, that connects to the history public user on the destination repository.
Click
Schedule
. You can navigate to
Jobs
View Current Jobs
to monitor the progress of the job.
Wait until the job completes before moving to the next step.
Now that the seamless access objects have been created it is time for the APPS portion of the setup. It includes registering the seamless access schemas, creating data groups for the seamless access schemas, and creating responsibilities based on those data groups.
Log into your Oracle E-Business Suite and choose the System Administrator responsibility.
Navigate to
Security
ORACLE
Register.
.
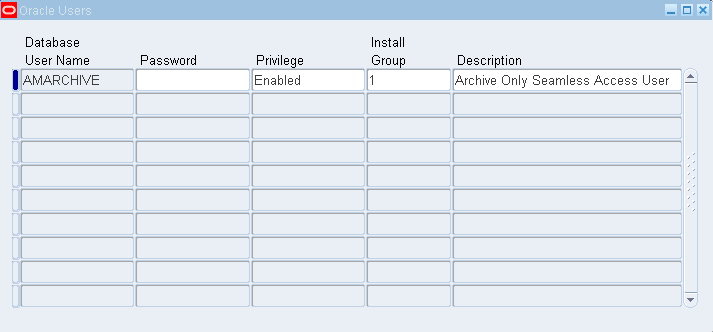
Register the archive only seamless access user.
Register the combined seamless access user.
For special instructions on registering users in Oracle E-Business Suite 12.2.5, see the "Seamless Data Access" chapter in the
Informatica Data Archive Administrator Guide
.
Navigate to
Security
ORACLE
Data Group
.
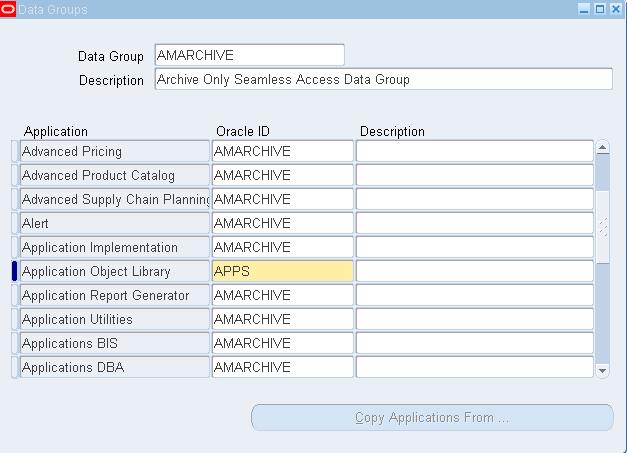
Enter the Data Group, Description, and hit the Copy Applications From button. Choose the Standard data group and click OK. Change the Oracle ID for all of the Applications except "Application Object Library" for the archive only data group to AMARCHIVE.
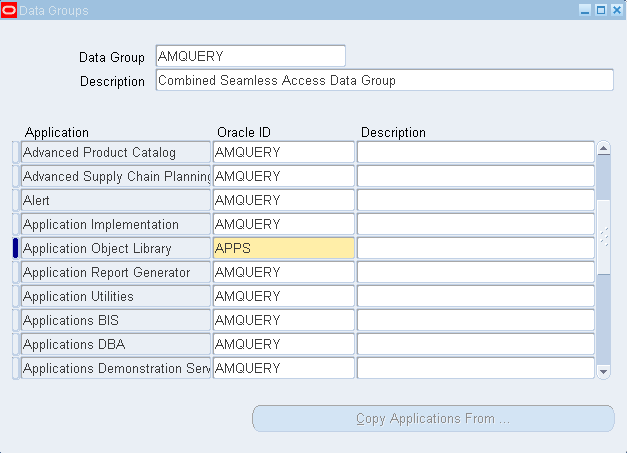
Perform the same steps for the combined data group and change the Oracle ID for all of the Applications except "Application Object Library" to AMQUERY.
You are now ready to create archive and combined versions of your select inquiry only responsibilities. Seamless access is only intended as a method of looking at data or reporting so choose inquiry responsibilities necessary to give access to the archived data or a combination of the archived and non-archived data for users that will require access to the older archived data. If something needs to be changed then the data will have to be restored and then archived again later after making the changes in one of your standard responsibilities. If the number of responsibilities is large you can download the ARC_FNDLOAD.zip file for a more automated responsibility creation process. The zip file includes a readme with instructions for that process and it will not be covered here.
Navigate to
Security
Responsibility
Define
and query up the standard version of the inquiry responsibility you wish to clone.
Make a note of all the defined values including Menu Exclusions, Excluded Items, and Securing Attributes if any are defined.
Navigate to
Security
Responsibility
Define
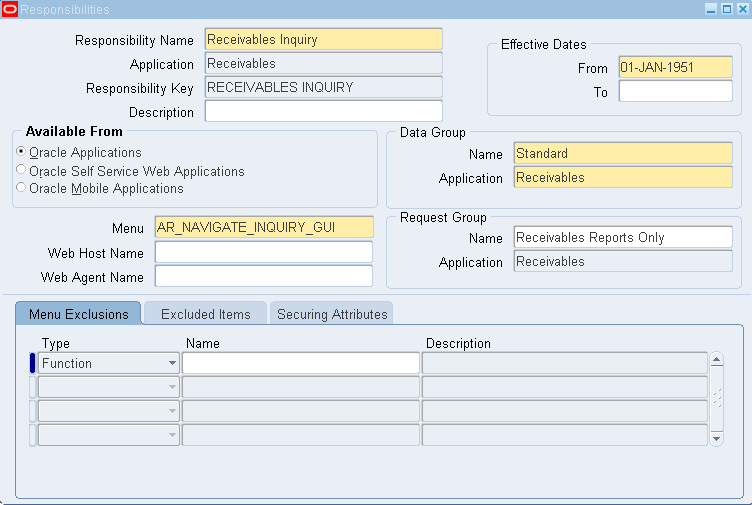
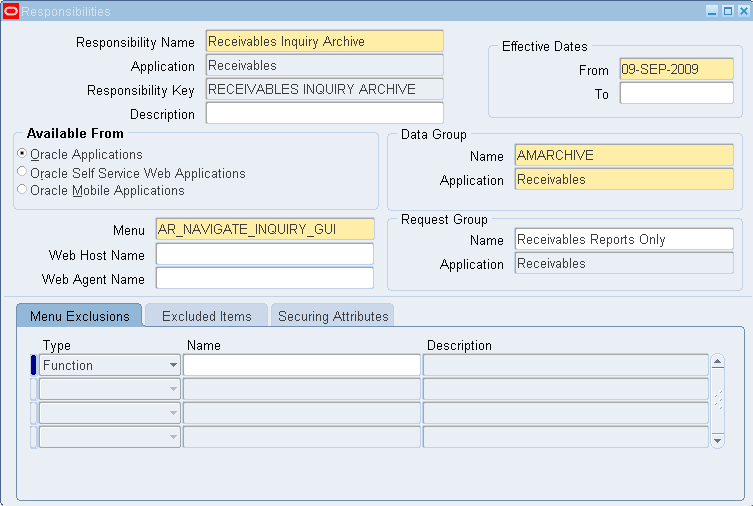
and create a new archive only responsibility with the following differences from the original responsibility.
Choose a new responsibility name, responsibility key, and choose the AMARCHIVE data group instead of the standard data group. Don't forget to include the Menu Exclusions, Excluded Items, and Securing Attributes if any are defined.
Navigate to
Security
Responsibility
Define
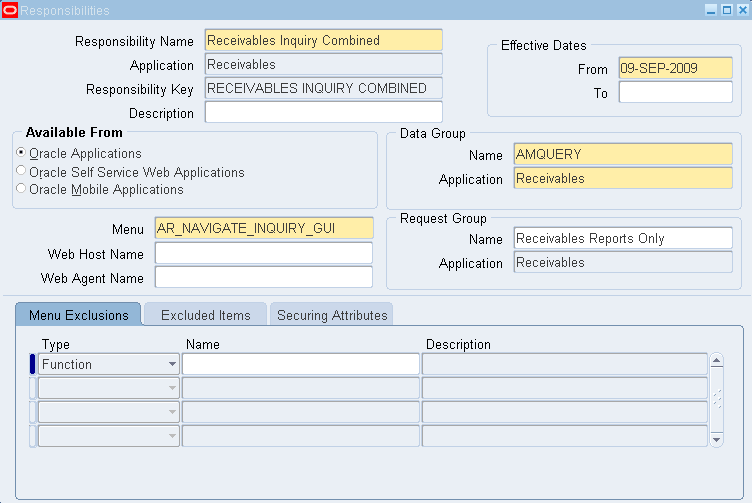
and create a new combined responsibility with the following differences from the original responsibility.
Choose a new responsibility name, responsibility key, and choose the AMQUERY data group instead of the standard data group. Don't forget to include the Menu Exclusions, Excluded Items, and Securing Attributes if any are defined.
The next step is the check for any profile options that are set for the original responsibility so the same options can also be set for the archive and combined versions.
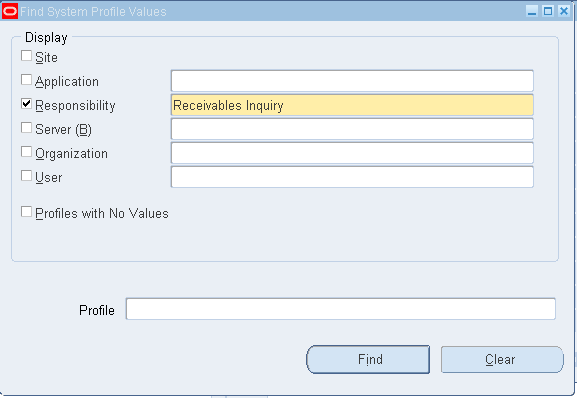
Navigate to
Profile
System
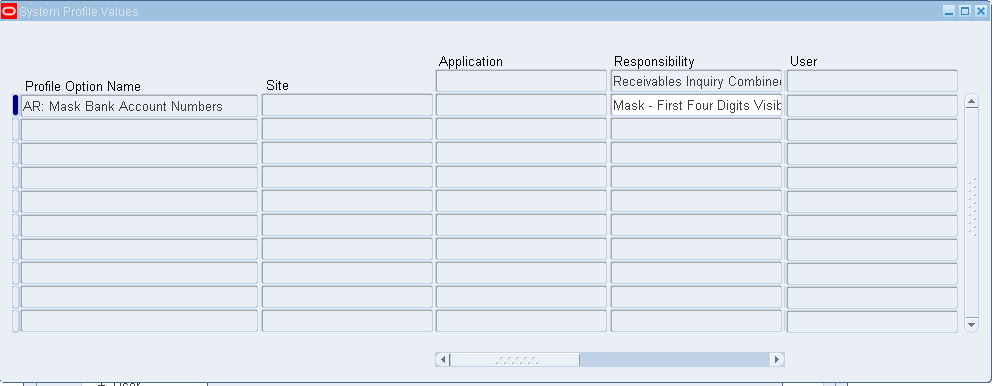
. Uncheck the box next to Site. Check the box next to Responsibility and find the original responsibility. Uncheck the box next to Profiles with No Values.
Click
Find
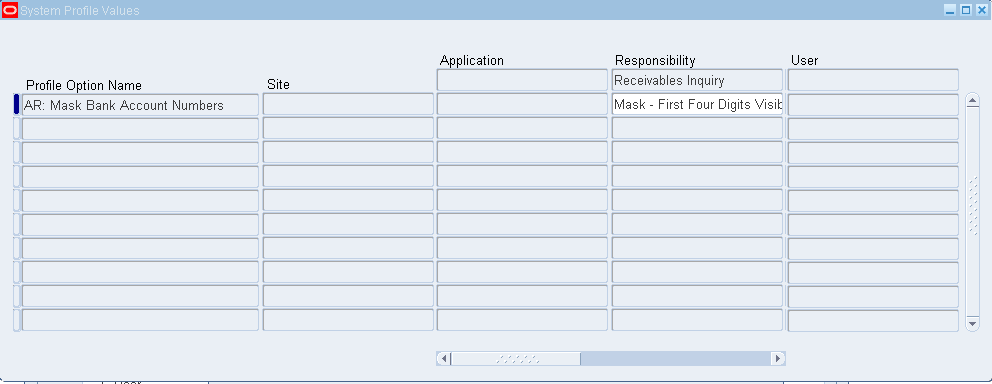
to see if any profile options are set.
Add any profile options set at the responsibility level to the archive version of the responsibility if required or desired.
Add any profile options set at the responsibility level to the combined version of the responsibility if required or desired.
Perform the same steps for all the responsibilities requiring an archive and combined version.