Data Archive
- Data Archive 6.5
- All Products

<datasource>
	<catalog-connection-name> </catalog-connection-name>
	<driver> </driver>
	<user> </user>
	<password> </password>
	<connection-type> </connection-type>
	<url> </url>
<datasource>
Property | Description |
|---|---|
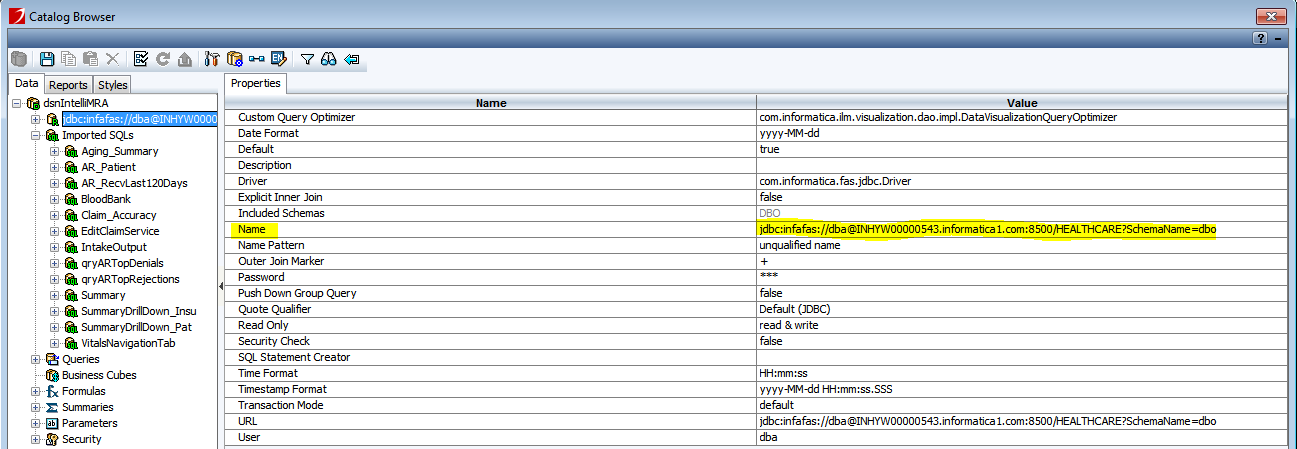
catalog-connection-name | Tag value must match the name present in the catalog browser. |
driver | "com.informatica.fas.jdbc.Driver" is always the driver tag value. |
user | Give the Data Vault user name in plain text. During server start-up the user and password tags are replaced with the tag "<encrypt-sign>" which contains the encrypted value of the user name and password.
|
password | Give the Data Vault password in plain text. During server start-up the user and password tags are replaced with the tag "<encrypt-sign>" which contains the encrypted value of the user name and password.
|
connection-type | "JDBC" is always the connection-type tag value. |
url | The updated JDBC URL that you want to use. |


