Associating Guide Designer Apex Classes With a User Profile
Associating Guide Designer Apex Classes With a User Profile
This topic shows how to create a profile and associate Guide Designer-related Apex classes to it. The procedure that you will read allows guides to run with Salesforce Chatter Only licenses.
Select a User Profile. Here "Chatter Only User" will be selected.
On the displayed page, click the
Clone
button.
On the displayed page, give the profile a name; for example, "TestChatterProfile" and then click
Save
.
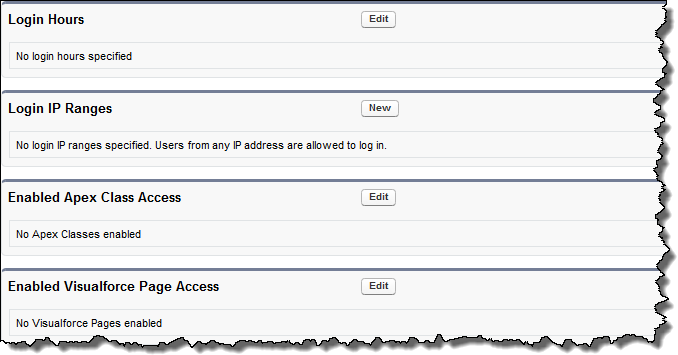
Salesforce displays a Profile page for the profile you just created. On that page, press
Enabled Apex Class Access
.
Salesforce scrolls this page and displays this area. The area may already have some classes enabled or, as in this example, none are yet enabled.
Click the
Edit
button.
Within the Available Apex Classes area on the left, select all of the classes starting with "ce4sf20_001" and press the
Add
button. This name may be different in some releases. However, they will always begin with "ce4sf".
Scroll the profile window up until you see the Custom Object Permissions area. Set the access rights for the custom objects for Read, Create, Edit, or Delete as appropriate. Here is an example:
Click the
Save
button located at the bottom of the page.
Go to
App Setup > Customize > Home > Home Page Layouts
, and click the
Page Layout Assignment
Select a home page layout for the newly created profile; in this example, it is "TestChatterProfile." Click
Save
.
Edit the home page layout selected in the previous step and make sure that the "Guide Designer Wizards" checkbox is selected. Click
 ASK INFAPreview