Table of Contents

Search

  1. Preface
  2. Introduction to Informatica Customer 360 for Salesforce
  3. Configuring the Data Cleansing Settings
  4. Managing Batch Jobs
  5. Verifying Addresses, Email Addresses, and Phone Numbers
  6. Synchronizing Salesforce Records with Customer 360 for Salesforce
  7. Managing Duplicate Records
  8. Consolidating Records
  9. Converting External Records to Salesforce Records
  10. Managing Hierarchies
  11. Integrating Customer 360 for Salesforce with Multidomain MDM
  12. Managing Multi-Org
  13. Troubleshooting
  14. Appendix A: Custom Settings
  15. Appendix B: Glossary

Creating an Account Hierarchy After Initial Data Load Example

Creating an Account Hierarchy After Initial Data Load Example

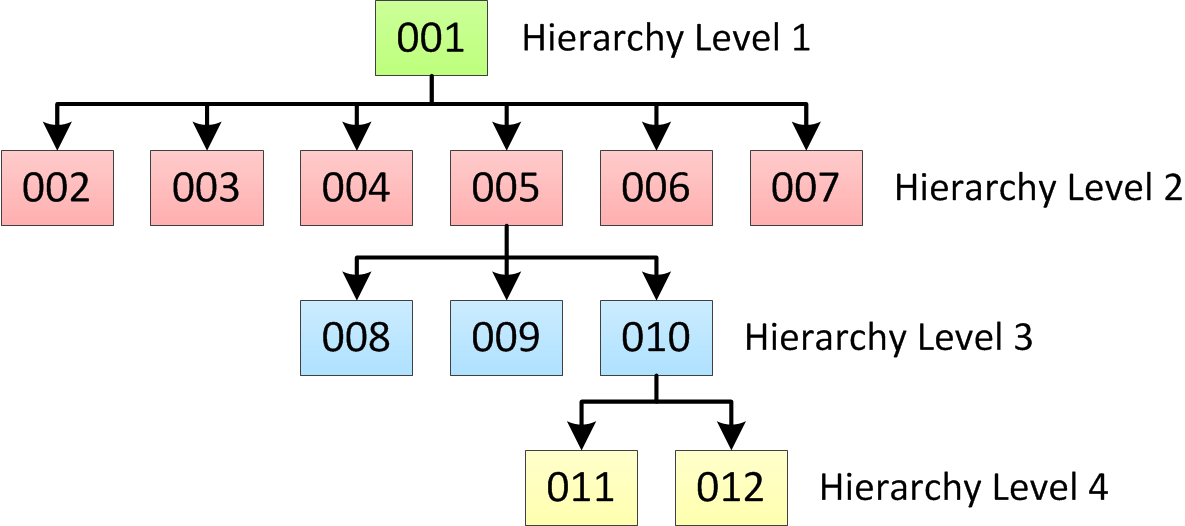
You want to create a hierarchy with four levels after the initial data load.
The following figure shows the completed hierarchy for the example:
A four-level hierarchy with 12 nodes.
Load all your records into
Customer 360 for Salesforce
. Do not populate the parent account values. After you load the records into
Customer 360 for Salesforce
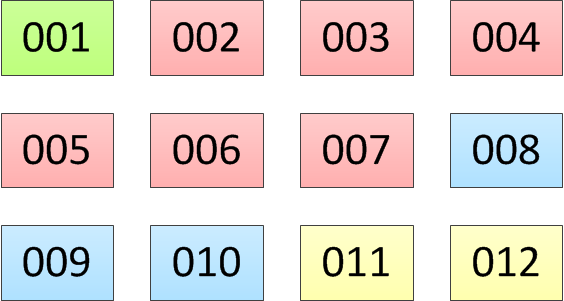
, the records are not part of a hierarchy and the records do not have relationships.
The following figure shows the lack of hierarchy structure among the records at this point in the process:
12 stand alone nodes.
After you load the records, use an external tool such as Informatica Cloud Services to populate the parent account values. First update the parent account value for the nodes in the second hierarchy level. You do not need to update the parent account value for the root node because the root node does not have a parent. The parent account value for the root node remains null. The following table shows the parent account values to populate when you update the values for hierarchy level 2:
Node ID
Parent Account value
002
001
003
001
004
001
005
001
006
001
007
001
The following figure shows the hierarchy structure at this point in the process:
A hierarchy showing the first and second hierarchy levels.
After you update the values for hierarchy level 2, update the values for hierarchy level 3. The following table shows the parent account values to populate when you update the values for hierarchy level 3:
Node ID
Parent Account value
008
005
009
005
010
005
The following figure shows the hierarchy structure at this point in the process:
A hierarchy showing the first, second, and third hierarchy levels.
After you update the values for hierarchy level 3, update the values for the root node in hierarchy level 4. The following table shows the parent account value to populate when you update the values for hierarchy level 4:
Node ID
Parent Account value
011
010
012
010
The hierarchy is complete. The following figure shows the completed hierarchy:
A four-level hierarchy with 12 nodes.

0 COMMENTS

We’d like to hear from you!