Multidomain MDM
- Multidomain MDM 10.5
- All Products

Property
| Description
|
|---|---|
View Name
| Label for the option. The view name appears as a tab in an opened record in
Data Director .
|
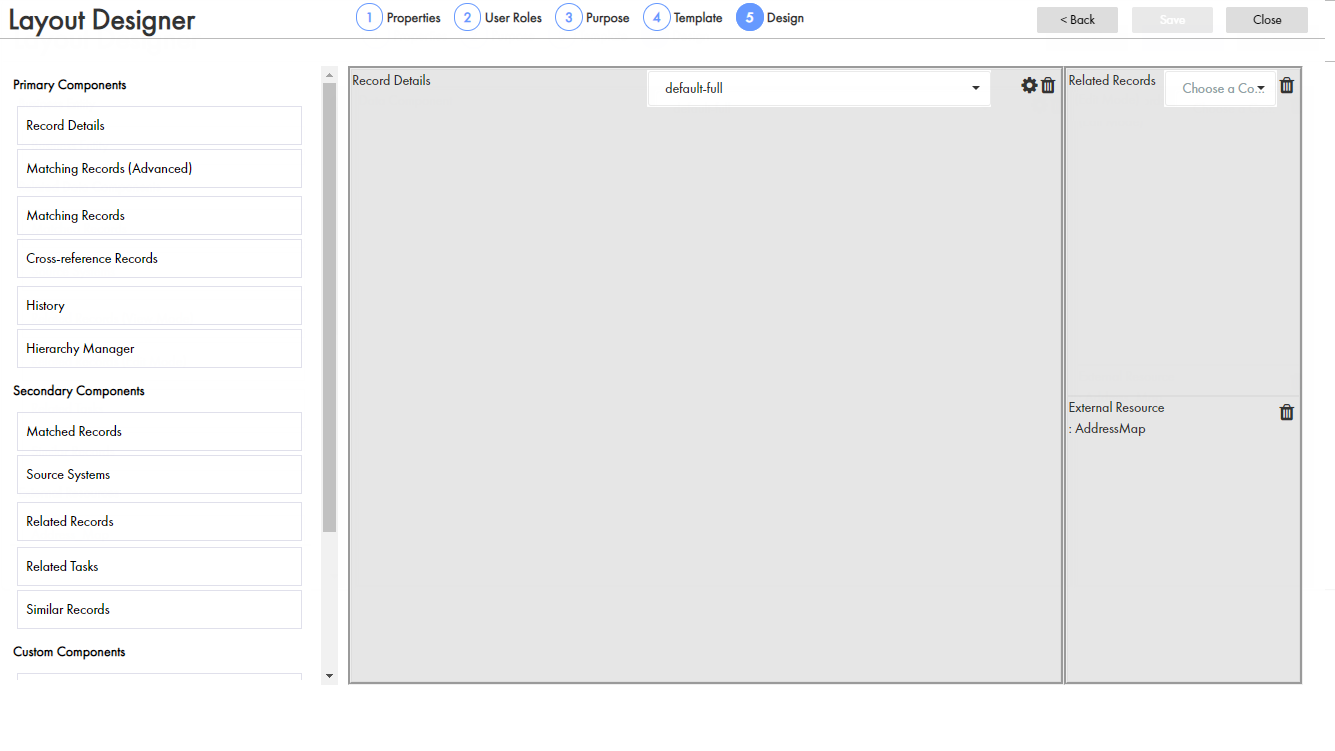
Layout Name
| Label for the layout that you design. After you design and publish the layout, the label appears in the
Layout Categories panel in the Layout Designer.
|
Layout ID
| Label used for generating a system ID.
|
Description
| Optional. A meaningful description to identify the layout.
|
List Option Icon
| Optional. Icon for the list option. The list option icon appears in the
View list in
Data Director .
|
List Order
| Optional. Placement of the view name in the list of tabs in the opened record in
Data Director .
|