Multidomain MDM
- Multidomain MDM 10.5
- All Products

Property
| Description
|
|---|---|
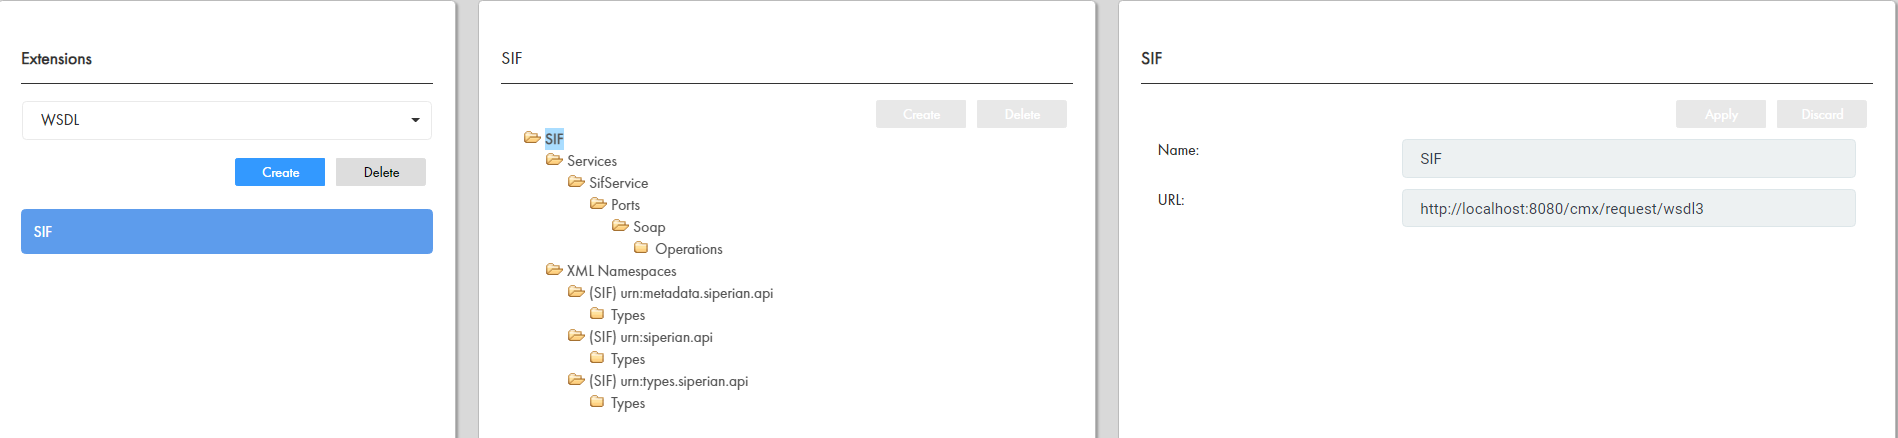
Name
| Name for the WSDL file.
|
URL
| URL of the WSDL file for the web service. You can refer to the following sample URLs:
|